

Note: If you are using the newer Next.js App Router, check out our dedicated App Router guide instead. This document is a guide on how to add GrowthBook feature flags to your Next.js application. It assumes you are starting from scratch, so if you already have a Next.js application, you can skip to step 2. Here is a video version similar to the steps below:Documentation Index
Fetch the complete documentation index at: https://growthbook-preview.mintlify.app/llms.txt
Use this file to discover all available pages before exploring further.
1. Create your Next.js App
Let’s start by getting a basic Next.js app running:http://localhost:4000 and you should see the application running!
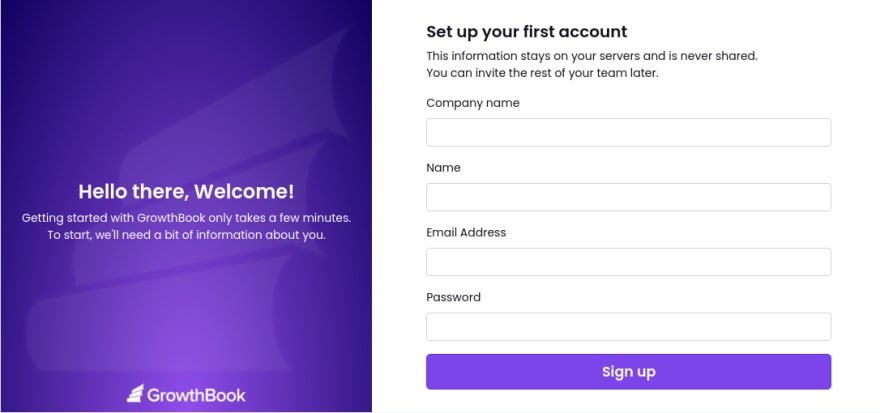
2. GrowthBook Account
You will need a GrowthBook account. You can either run GrowthBook locally or using the cloud hosted GrowthBook at app.growthbook.io. If you are using the GrowthBook cloud, you can skip to step 3. If you are installing it locally, here is the quick start instructions - or you can follow the self hosting instructions.http://localhost:3000 and create your first user account.
3. Integrate the GrowthBook React SDK into our Next.js app
GrowthBook will generate some integration code for you, including a unique SDK Client Key to load your features from.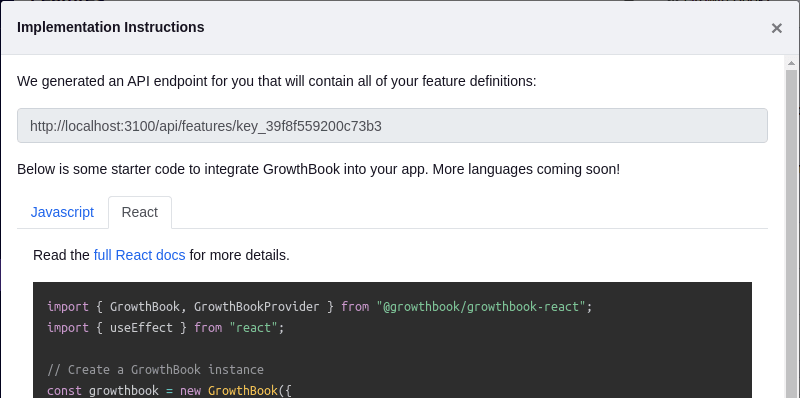
.env.local if it doesn’t exist yet and add your generated key there:
pages/_app.js with the following contents:
4. Create a Feature in GrowthBook
Back in the GrowthBook application, we can create a new feature. For this tutorial, we’ll make a simple on/off feature flag that determines whether or not we show a welcome banner on our site.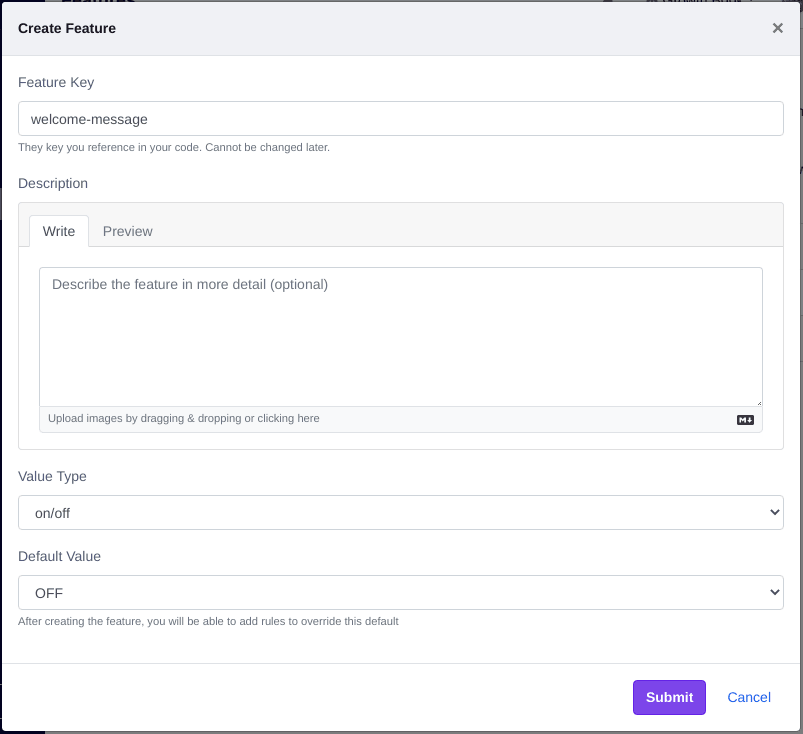
pages/index.js and conditionally render a welcome message based on the state of the feature:
Add an import statement:
5. Turn on the feature for your team
Now we can add rules to the feature to turn it on for specific groups of users. In the hard-coded targeting attributes we set in pages/_app.js, we designated ourselves as an internal employee. Let’s use this attribute to turn on the feature for the whole internal team:

6. Gradually roll out to your users
After you test the new feature within your team, you probably want to start rolling it out to real users. We can do that with another rule in GrowthBook: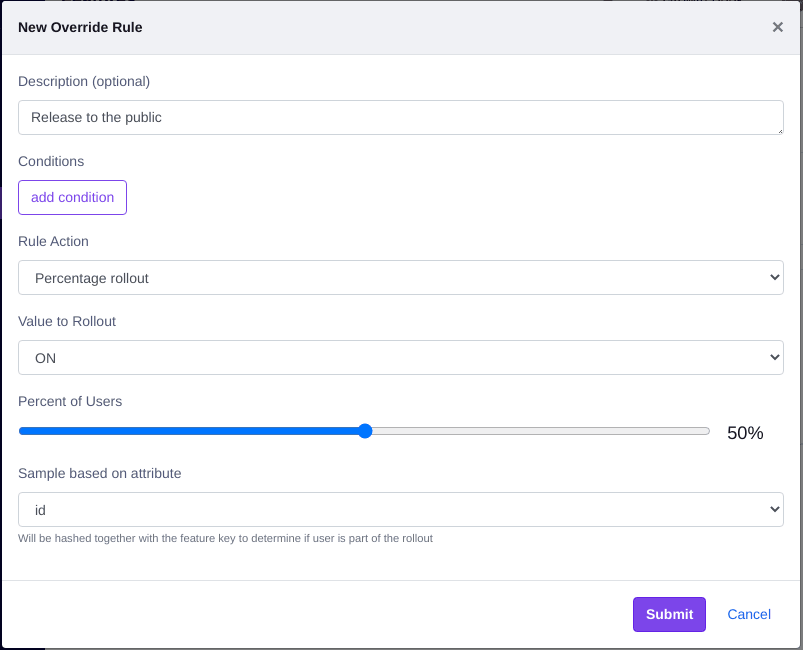
The GrowthBook SDK uses deterministic hashing to figure out whether or not
someone is included in a rollout (or A/B test). The SDKs hash together the
selected targeting attribute (id) and the feature key (welcome-message) and
coverts it to a float between 0 and 1. If that float is less than or equal to
the rollout percent, the user is included. This ensures a consistent UX and
prevents one user from constantly switching between ON and OFF as they
navigate your app.
pages/_app.js to a few different random strings and see what happens. You should notice about half of the time the welcome message shows up and half of the time it doesn’t.
Conclusion and Next Steps
We showed here how to do a targeted rule, and how to do a rollout rule. It’s also just as easy to make an A/B test in the same manner. You will need to set up an event tracking and connect GrowthBook to your data source. You can look at the GrowthBook React SDK docs for more ways to use feature flags in your code besides the<IfFeatureEnabled> component. Once you do the initial integration work, it only takes a few seconds to wrap your code in feature flags. Once you realize how easy and stress-free deploys and experimentation can be, there’s no going back.